EL Wire Animal Masks for Halloween
If you’re looking for an easy, fun, and glowing Halloween costume this year, read on to learn how to make an animal mask with EL wire on a bike helmet. I was inspired by Tom Newsom’s Glownimals project over in the UK, which he showed off at Elephant and Castle Mini Maker Faire last summer.

Plain wire supports the glowing design and because the helmet straps securely to your head, you have a lot of freedom to design whatever character you want.
You’ll need:
- Bike helmet
- 19 gauge galvanized wire
- Heavy pliers/cutters
- EL wire in the color(s) of your choice
- Inverter to match your length of EL wire (4xAAA is a good choice for most designs) and batteries
- Velcro tape
- Heat shrink tubing & heat gun or lighter
- Masking/Gaffers tape
- Clear thread
- E6000 craft adhesive

To keep up with what I’m working on, follow me on YouTube, Instagram, Twitter, Pinterest, and subscribe to my newsletter. As an Amazon Associate I earn from qualifying purchases you make using my affiliate links.
Create Wire Frame


Sketch out your design. I found it helpful to draw on top of a picture of a bike helmet.

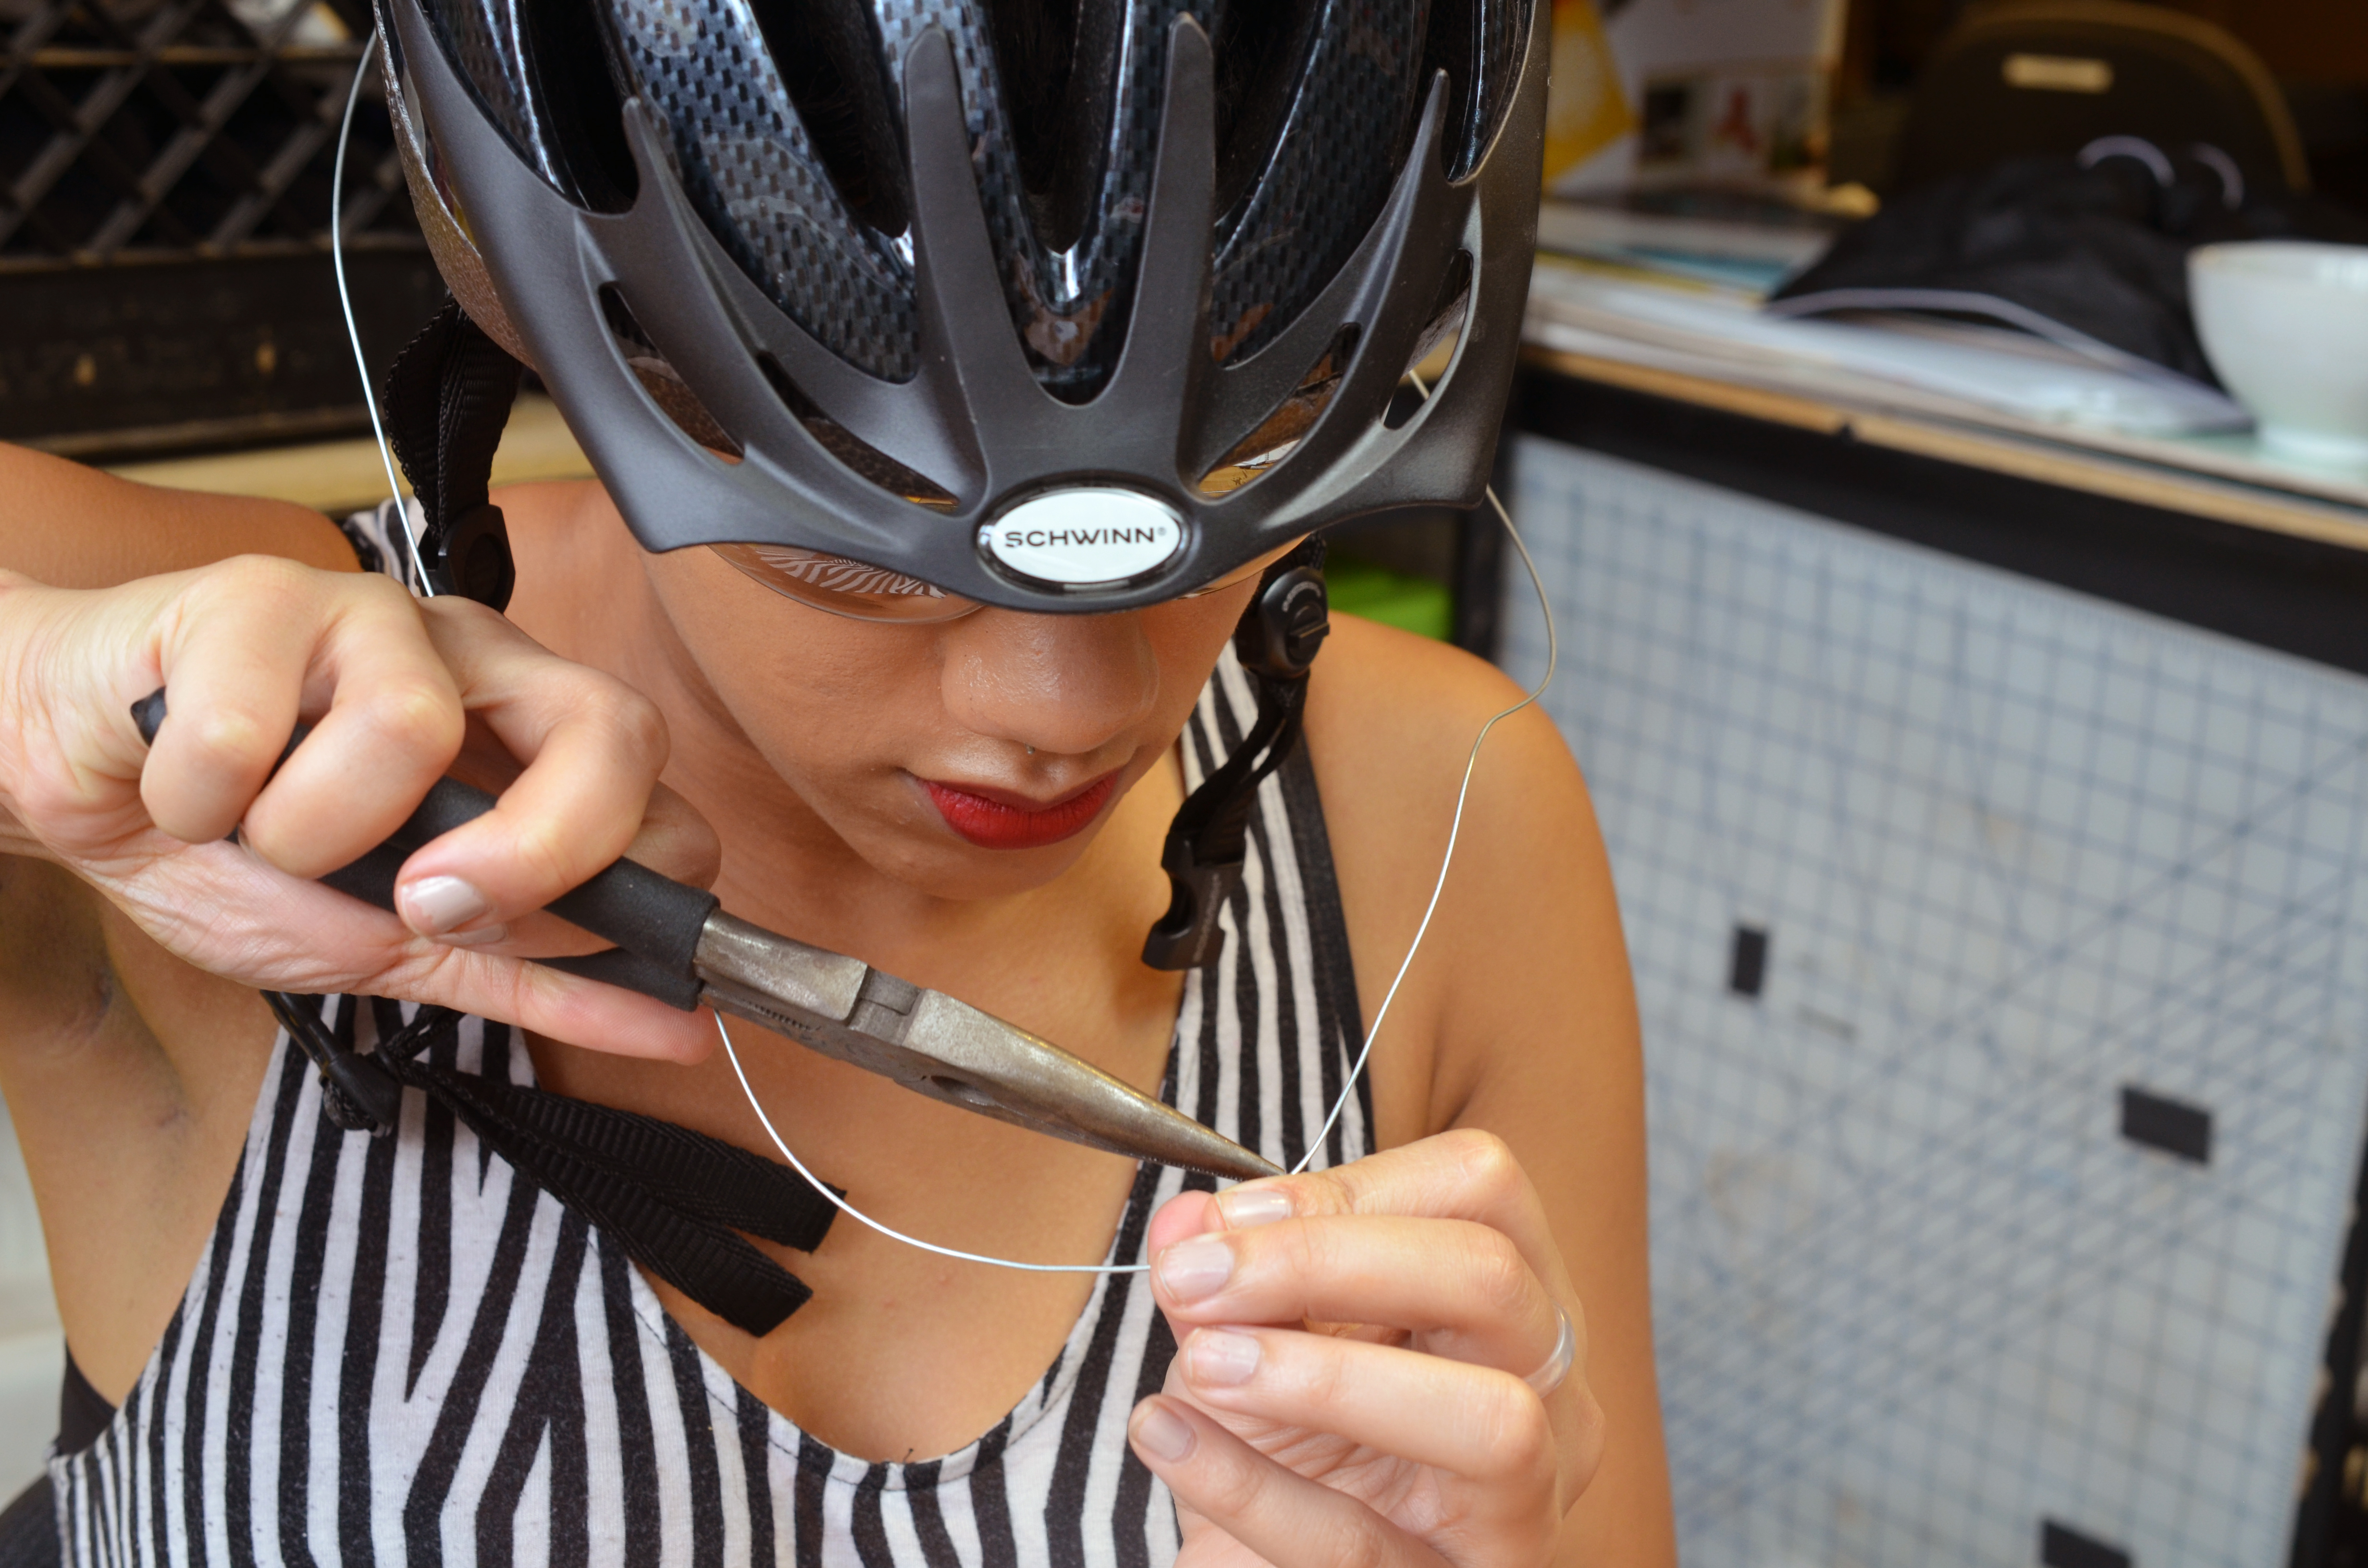

Start creating your design with stiff wire and a heavy pair of pliers. Wear safety glasses.


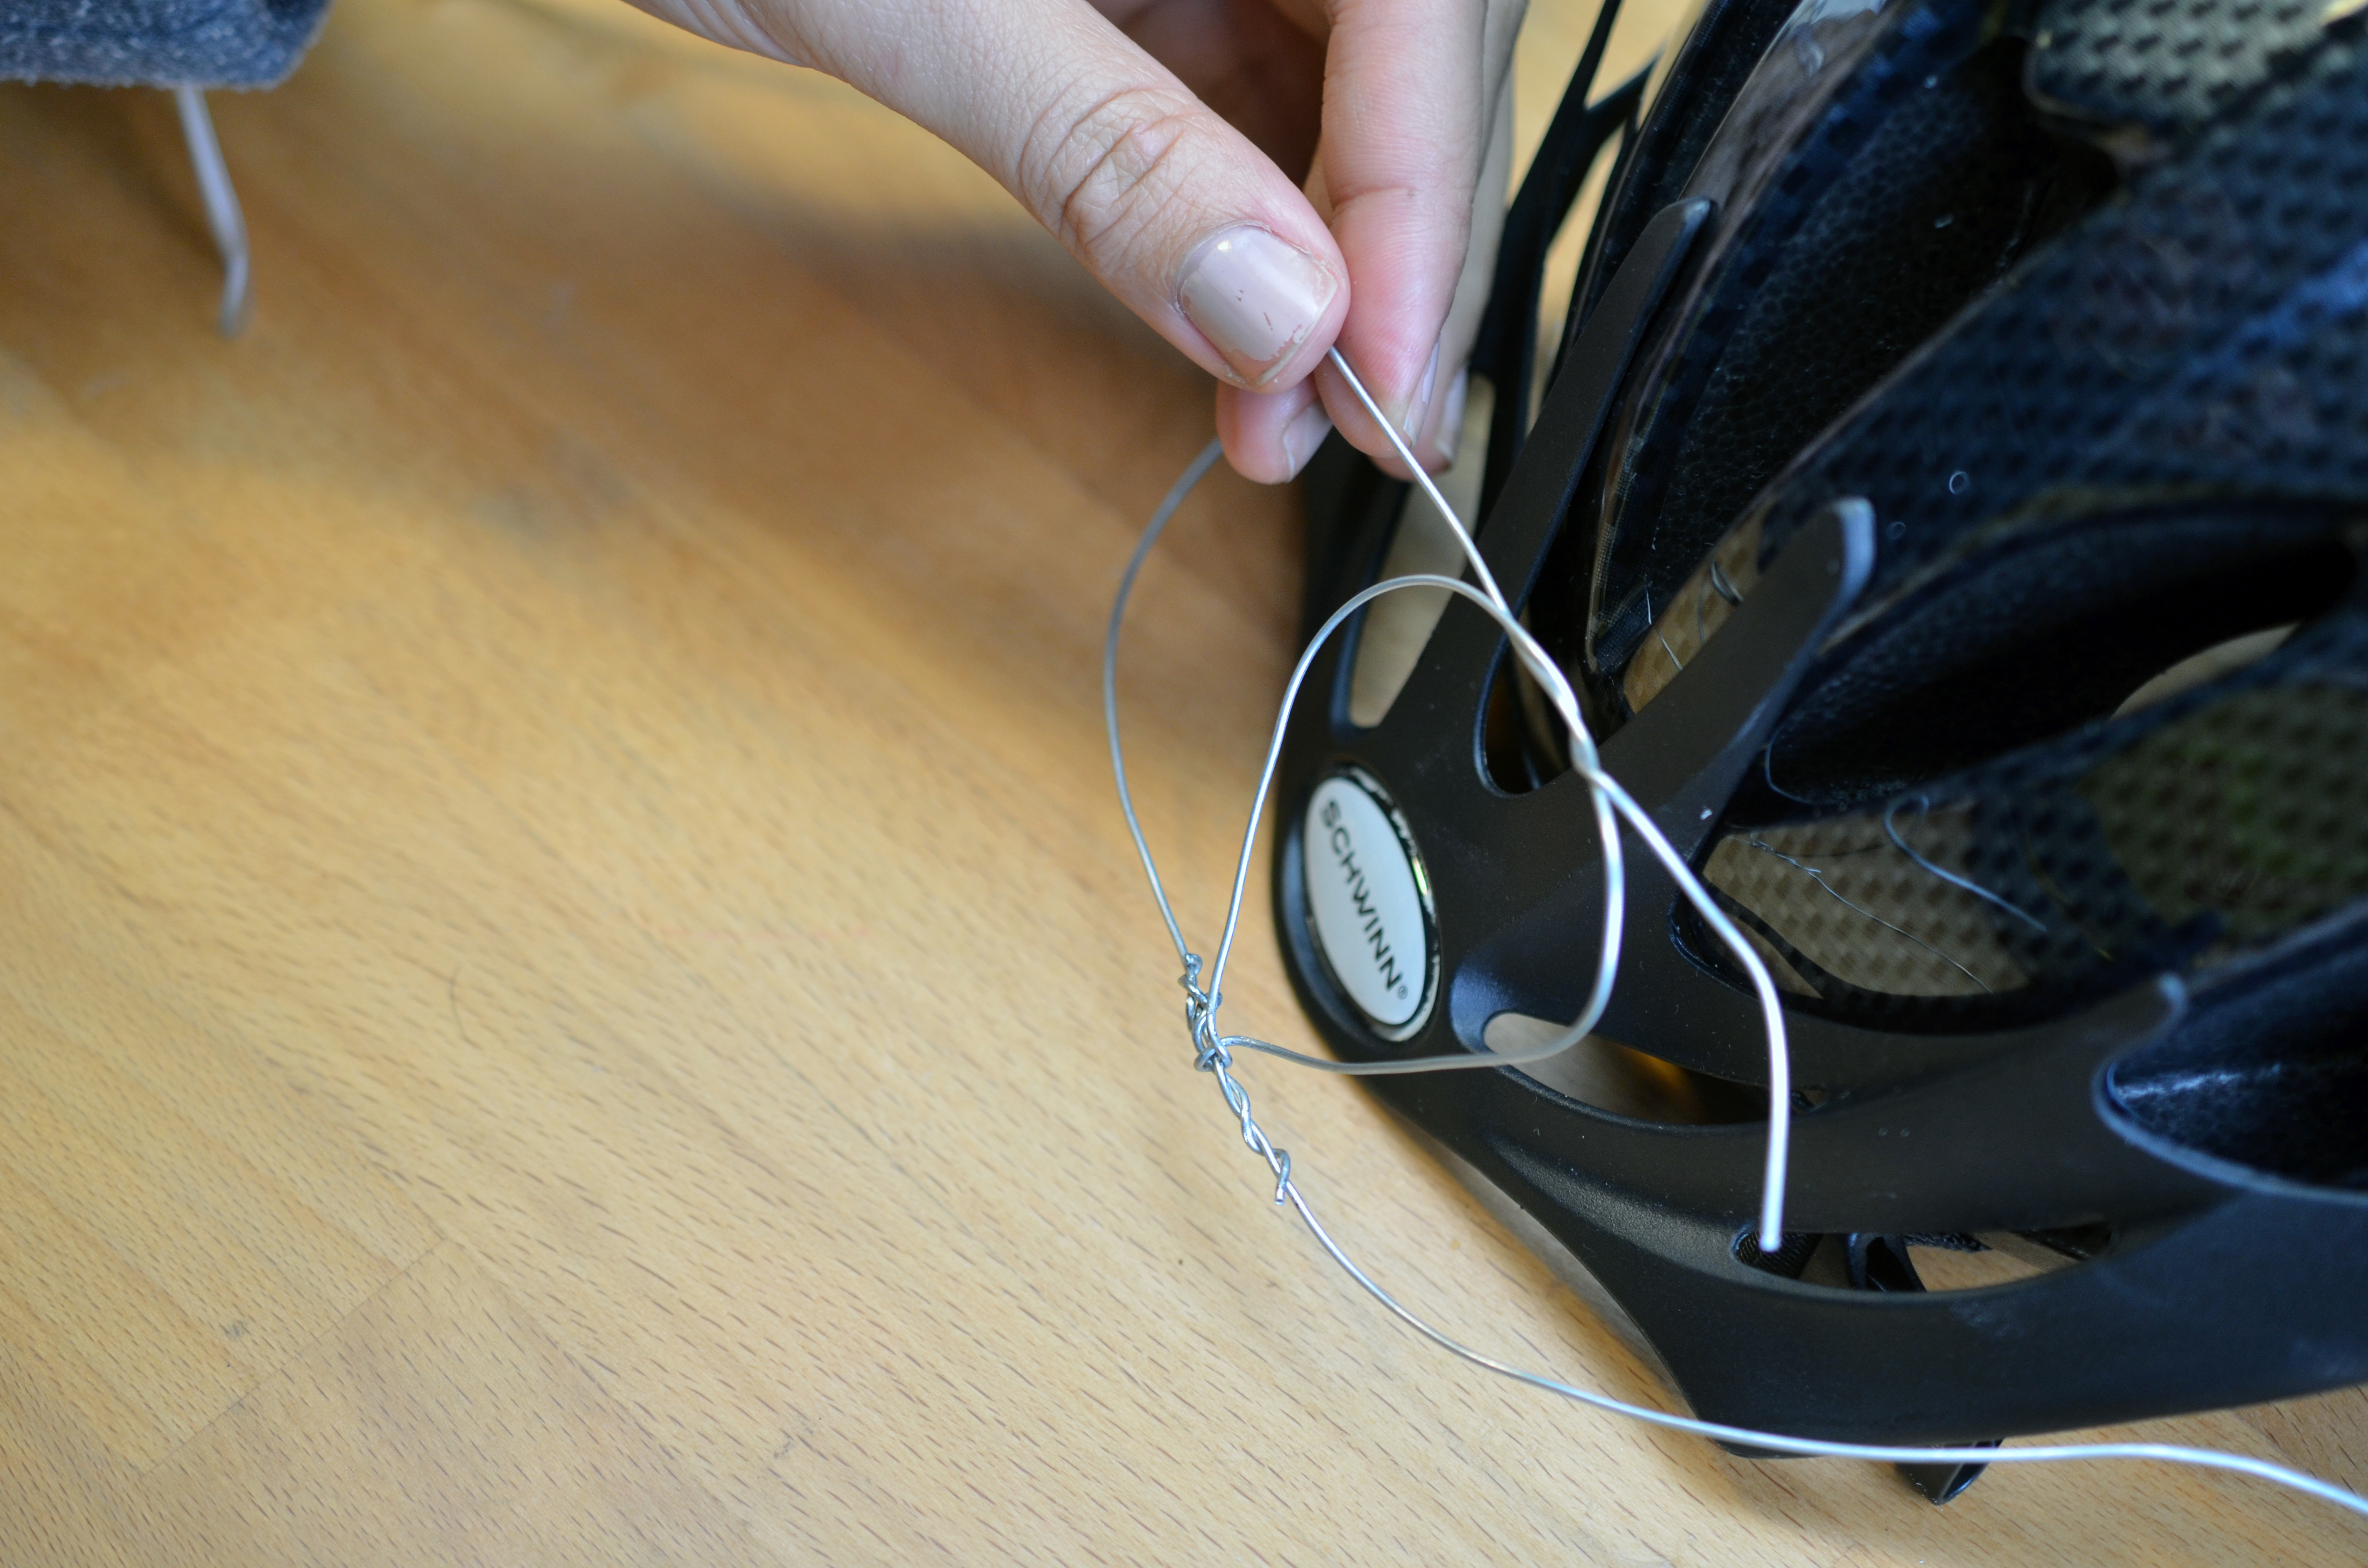
When attaching to the helmet, loop through the vents and tightly twist the wire to secure in place.


On the inside of the helmet, move any foam pads to cover the wire, especially right in the forehead.
If your wire is wiggly, you can make a Z curve in it with a pair of pliers. This uses up the wire slack, removing wiggle.
It can be helpful to try the helmet on to see where the features of your mask will end up in relation to your head.

My finished triceratops wire frame has extra supports made of doubled-over and twisted wire coming from the front and up from the back. Now let’s add some glow!
Attach Inverter & EL Wire


Cut two small pieces of Velcro tape and stick the hook side to your inverter. Pair up the loop side and remove its protective backing, then stick the inverter to your helmet. Separate the Velcro and press the loop side firmly to the helmet.


Plug in your first piece of EL wire to the inverter and begin running it along the wire, bending it to match the shape of the wire frame. Use twist ties or small bits of hookup wire to hold the EL wire in place temporarily.

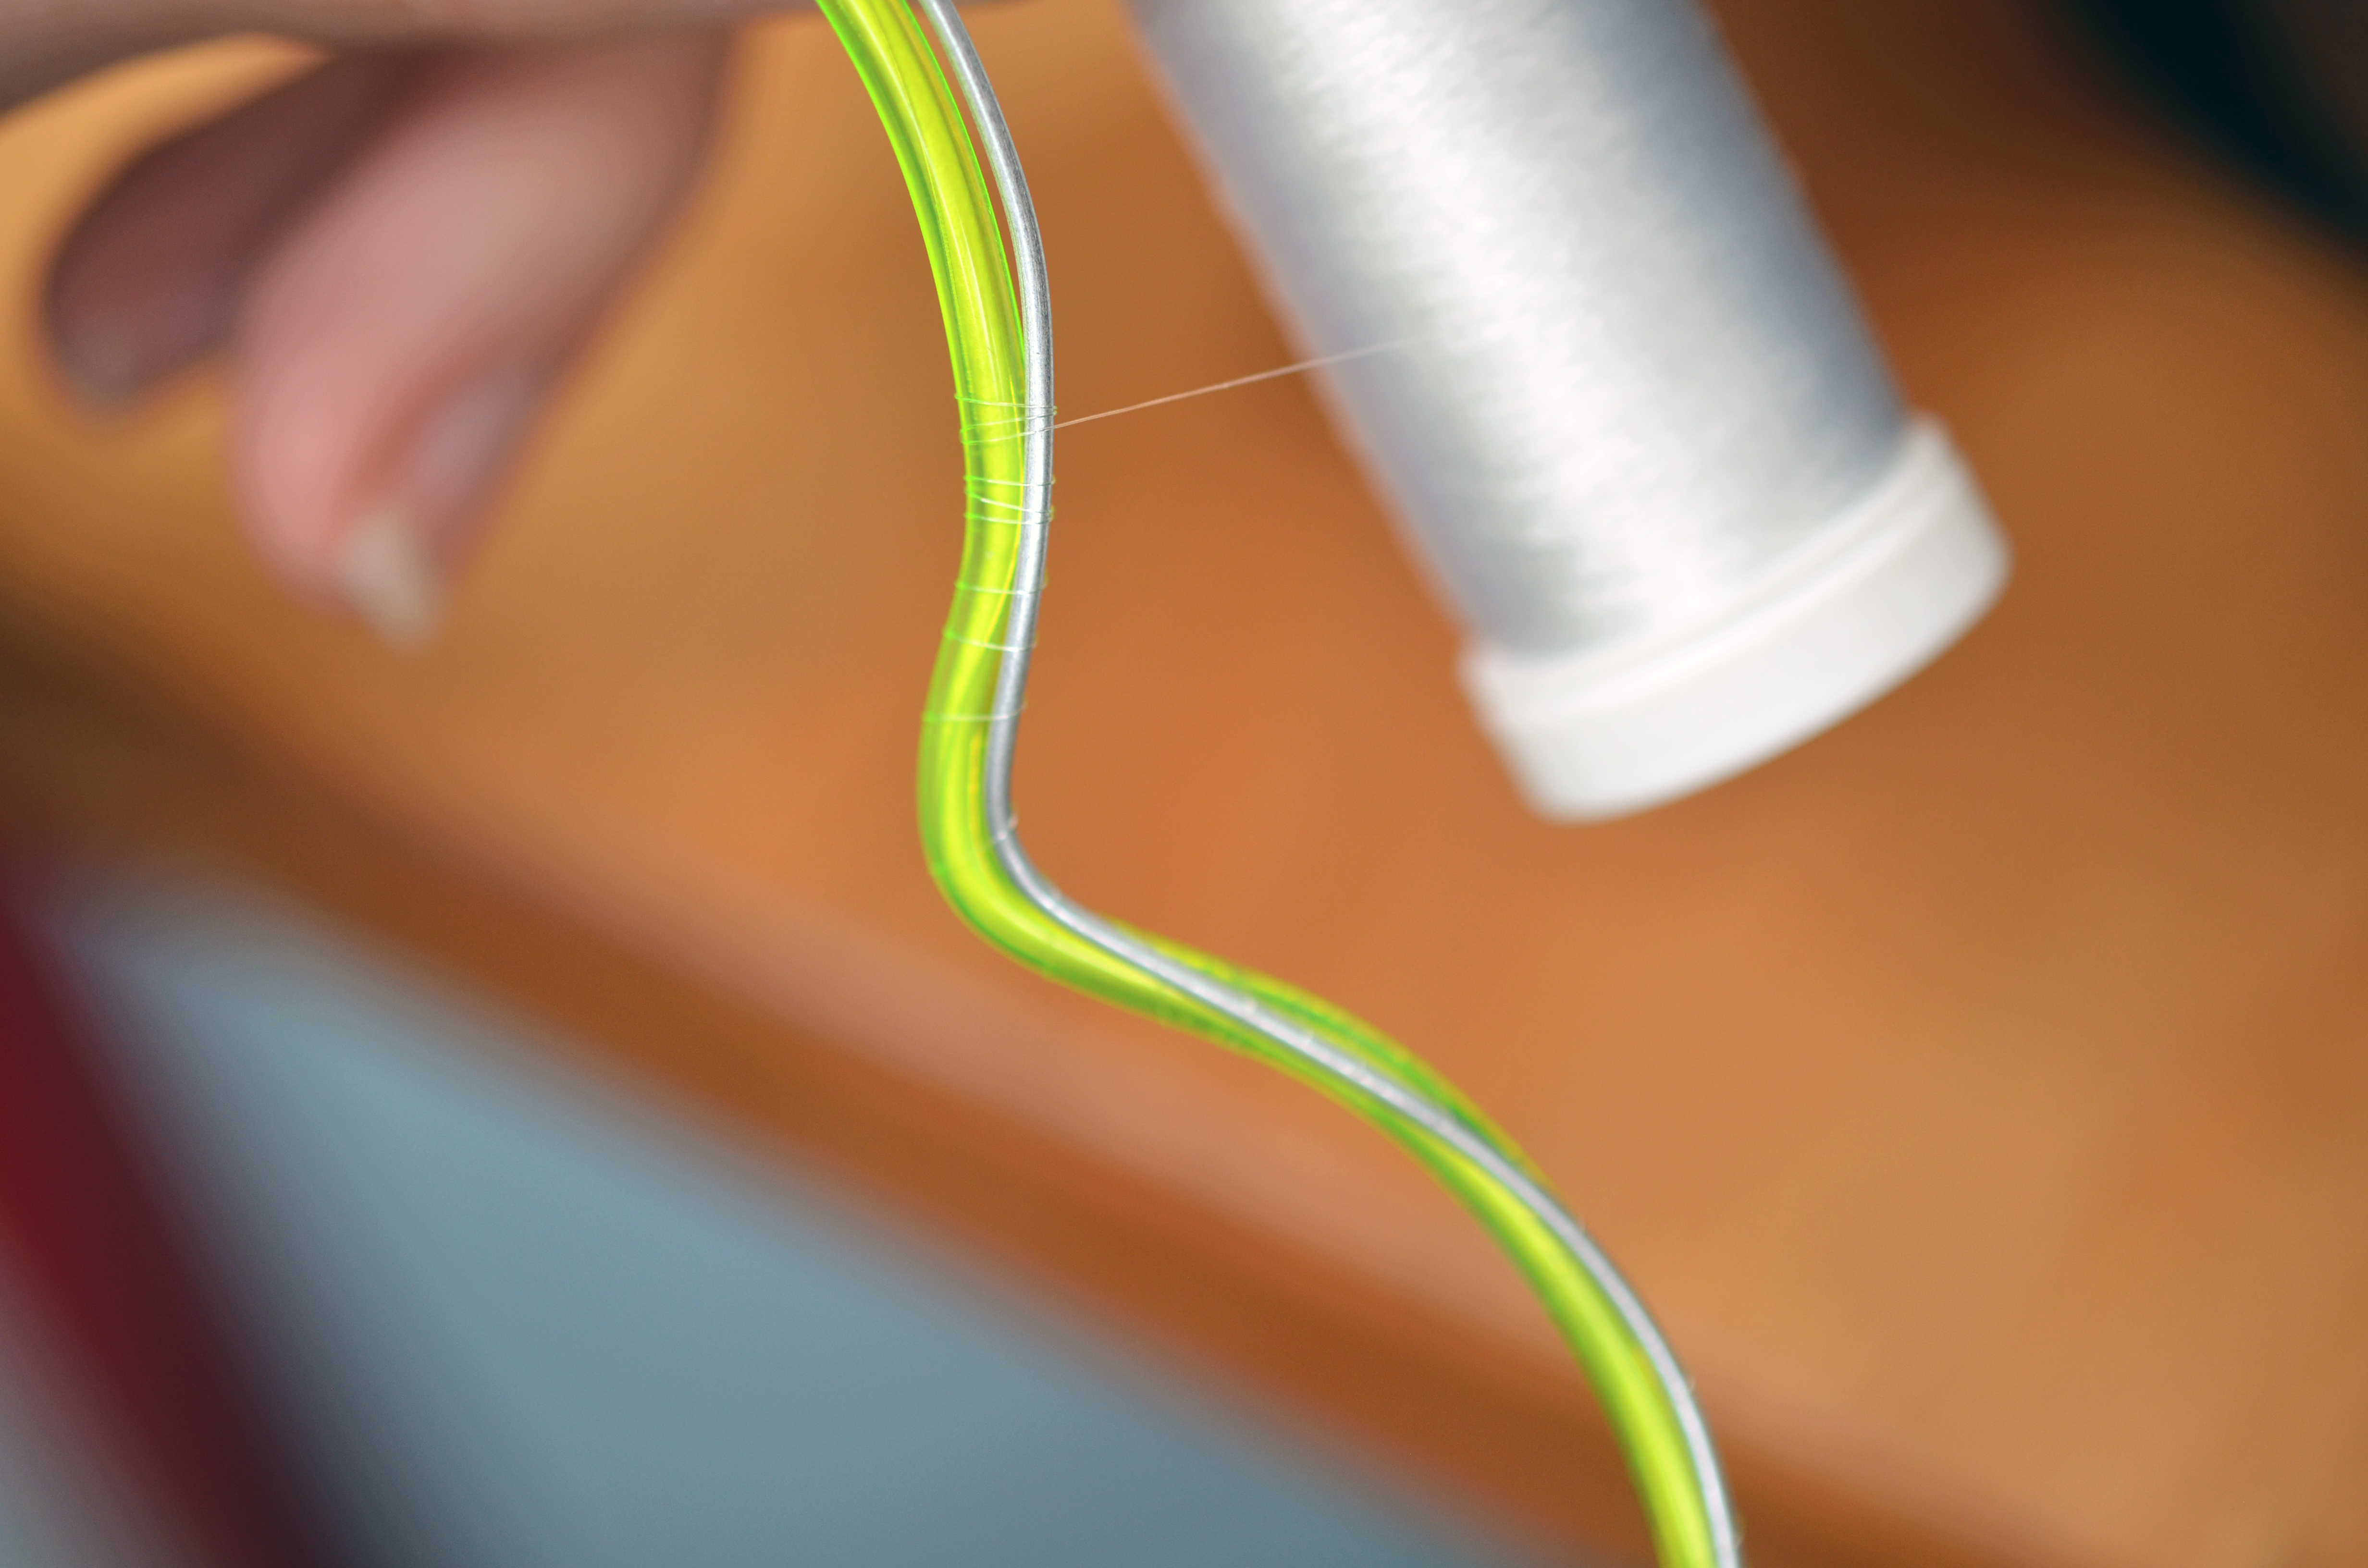

Wrap clear thread to join both wires, all along the distance it travels. This isn’t a permanent connection as it’s bound to snag on something eventually, but helps clamp the EL wire in place for gluing later. This process is the most time consuming part of this project, and is perfect for group crafting or a project to do while watching a movie.


Use heat shrink tubing to mask parts of EL wire you don’t want to glow, such as when jumping from one part of the design to another.
If your design absolutely necessitates that you cut and solder the EL wire, refer to this EL wire guide.
I found it helpful to prop the helmet up on a cone of yarn while working.

Above is one strand of green EL wire. You can create elements of your design from different color EL wire, and even use more than one inverter if you want parts of the design to blink.

Keep track of how much EL wire you’re using and make sure you don’t exceed the specs of your inverter. If your design is very elaborate you might need to add an additional inverter.
See the triceratops face and front horn in blue?
A 4xAAAA inverter can power three-four meters of EL wire for up to 7 hours.


Apply E6000 glue to join the EL with the regular wire every few inches. Allow to dry completely, about 24 hours.
Use masking or gaff tape to cover any pointy bits of wire– you don’t want to poke anyone’s eye out with your mask, especially your own!
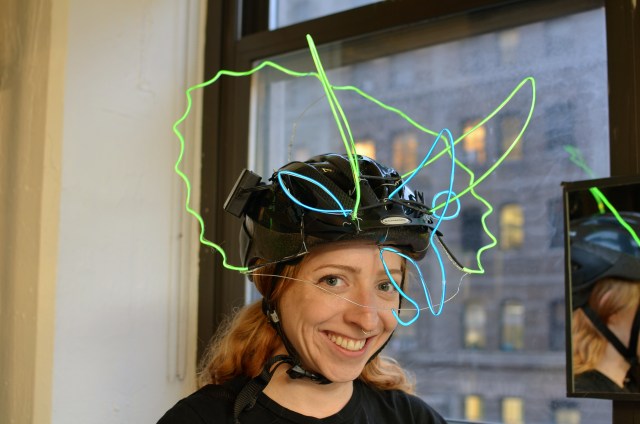
Wear it!
These masks are so fun to wear! I recommend making a bunch with friends and then heading out as a group. The finished mask is less safe than a regular bike helmet, so ride carefully or just skip the bike entirely.

EL inverters make a high-pitched sound you may find annoying– a bit of hot glue on the capacitors inside will help dampen the noise. Or just stick it in your pocket so it’s not near your ears.